面
最后,我们再看下矢量面数据的渲染。
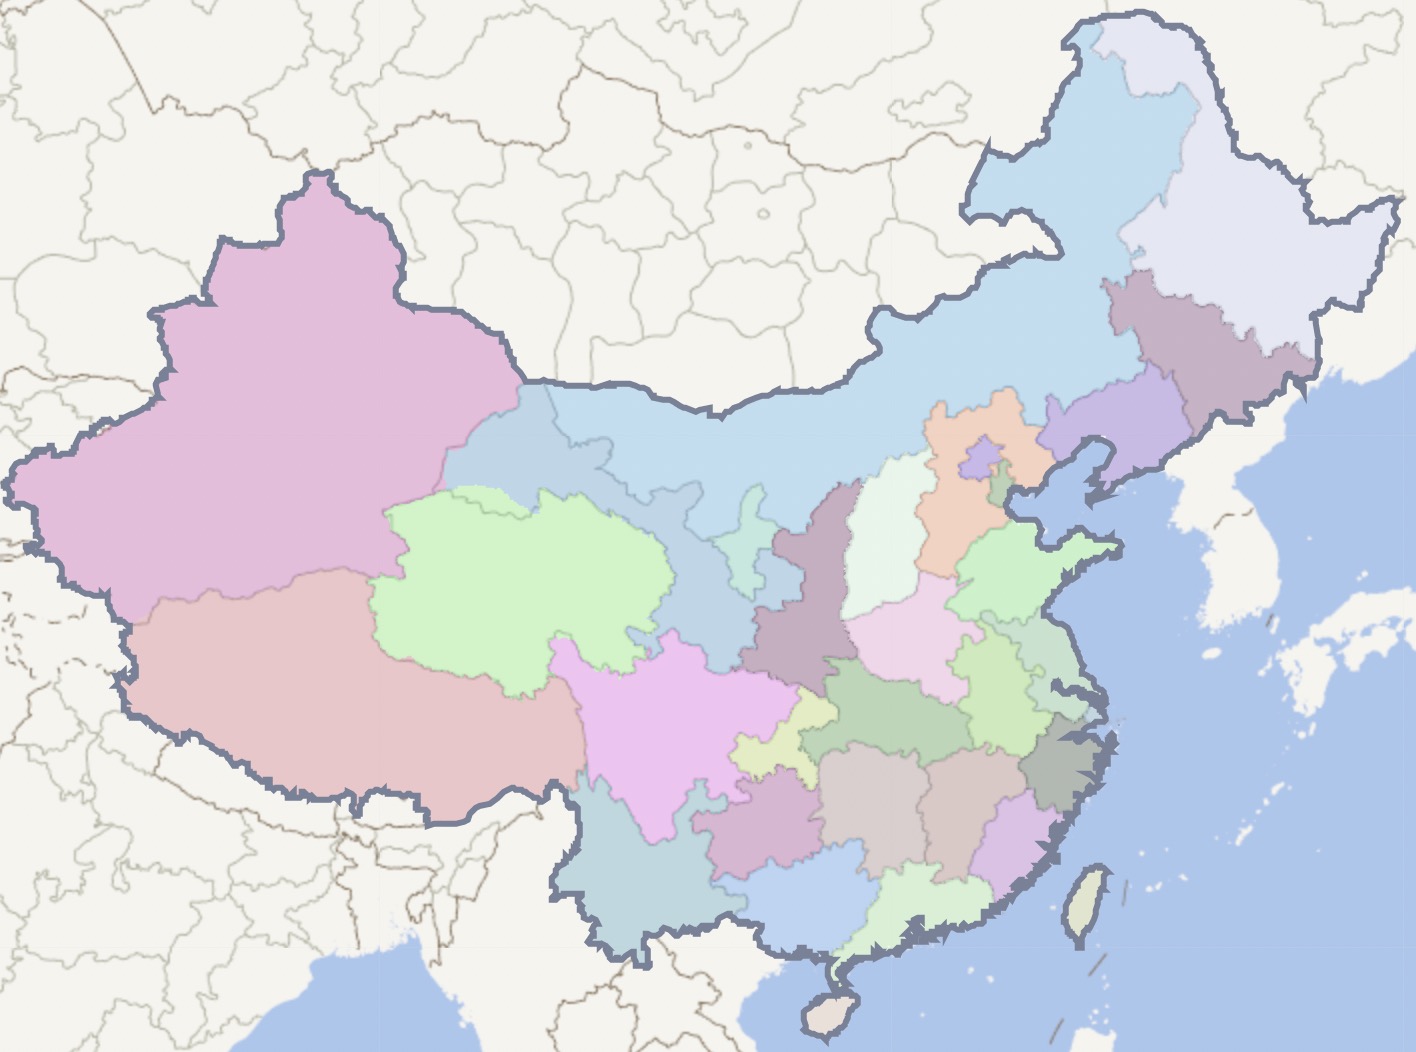
区域填色
在我们拿到中国各省的面数据后,按照图层=数据+样式的思路,给多边形填色(这里是随机色)
getJSON("public/demos/data/prov.json").then(json => {
    const provider = new GeoJSONFeatureProvider(json);  //该数据是geojson类型,所以使用GeoJSONFeatureProvider
    const style: IFeatureStyleOptions = {
        polygon: {                                      //多边形样式
            fill: true,                                 //是否填色
            color: () => Spectra.random().alpha(0.3),   //颜色:随机色,透明度0.3
        }
    }
    const layer = new LGeoJSONLayer({
        name: "中国省份",                                //图层名称
    })
        .setDataSource(provider)
        .setDrawOptions(style)
    map.addLayer(layer);
});
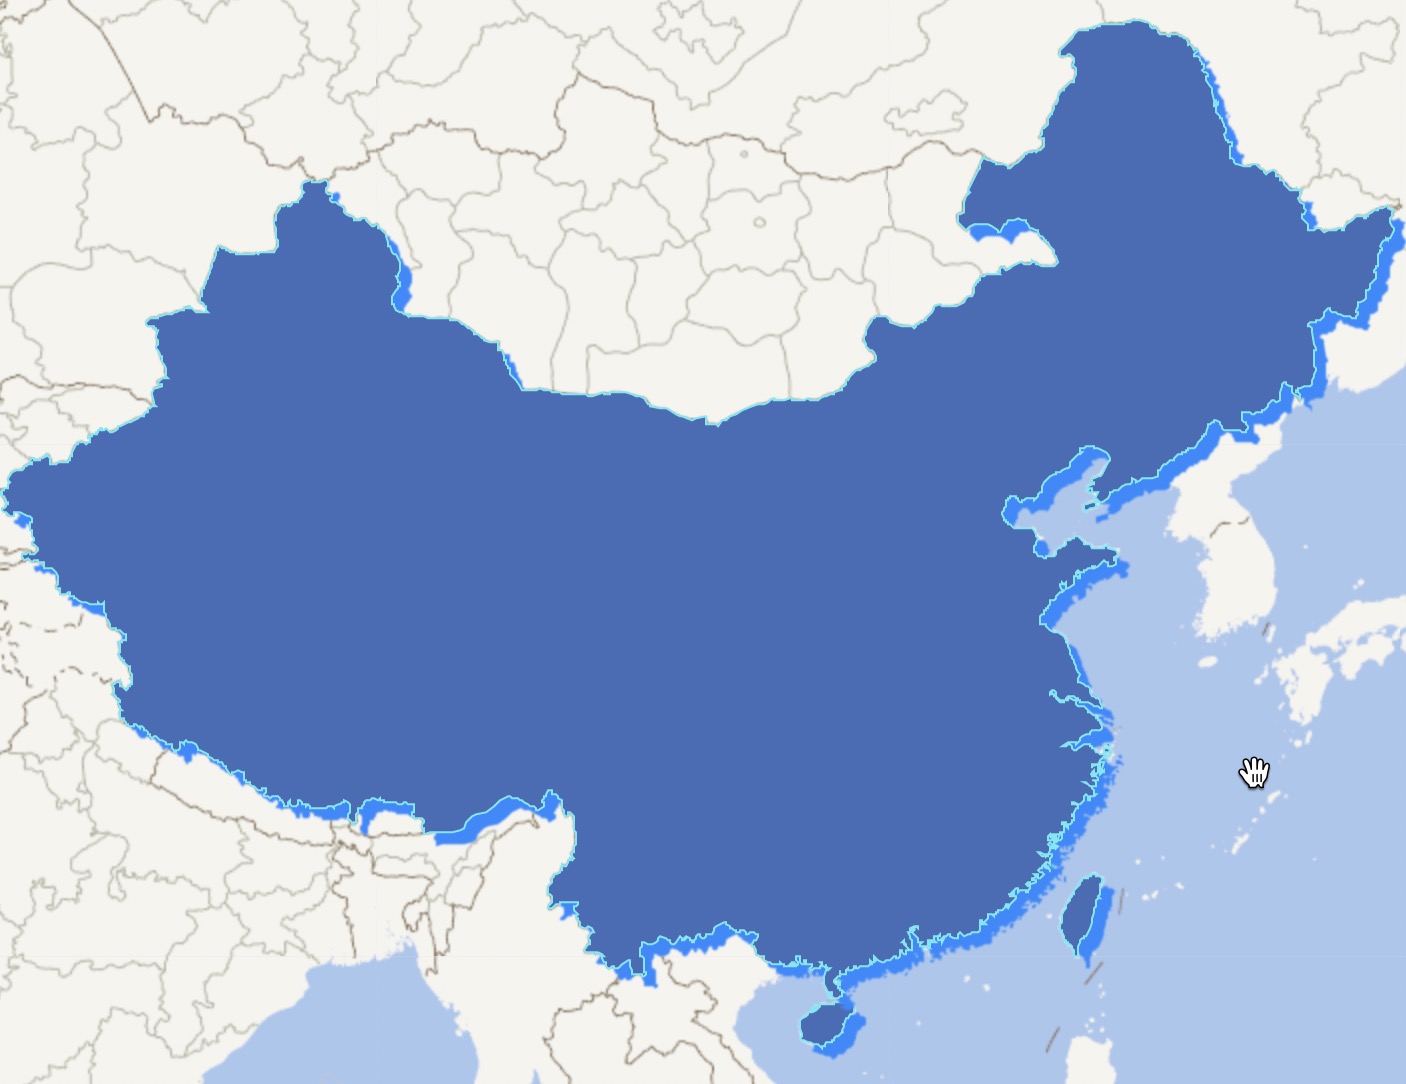
区域描边
面数据也可以区域描边,通过设置fill字段来决定是否填充,当fill设置为false,并设置相应的线条样式,也可以显示出边界的效果。
getJSON("public/demos/data/china.poly.json").then(json => {
  const provider = new GeoJSONFeatureProvider(json);
  const style: IFeatureStyleOptions = {
    polygon: {
      fill: false,
      lineStyle: {
        color: "rgba(120,129,153,1)",
        width: 3
      }
    }
  }
  const layer = new LGeoJSONLayer({
    name: "国界"
  }).setDataSource(provider).setDrawOptions(style);
  map.addLayer(layer);
});
区域填色和区域描边效果如下
区域填充图案
通过设置polygon的fillImage样式,可以给区域填充图案。下面示例代码表示仅江苏区域使用heart图案进行填充。
const style: IFeatureStyleOptions = {
...
  polygon: {                                      //多边形样式
      fill: true,                                 //是否填色
      fillImage: {                                //填充图案
          stops: [                                //分段规则
              {
                  value: "江苏",                   //NAME为"江苏"时
                  stop: "heart#res"               //使用资源管理器中ID为heart的图片填充
              },
              {                                   //其他情况不进行填充
                  value: "*",
                  stop: undefined
              }
          ],
          fieldName: "NAME",                      //分段渲染的属性字段名
          action: "unique"                        //分段配置方式,class表示区间,unique表示唯一值
      },
  }
...
}
注意:我们这里也用了分段规则,但是action设置的是unique,表示当field等于该值时渲染,不同于action的默认值class,表示的是区间分段。

区域阴影
const style: IFeatureStyleOptions = {
  polygon: {
    fill: true,
    color: "rgba(68,107,183,1)",
    lineStyle: {
      color: "rgba(96,233,243,1)",
      width: 1
    },
    shadowColor: "rgba(41,135,255,1)", //阴影的颜色
    shadowBlur: 2,                     //阴影模糊效果
    shadowOffset: [12,12]              //阴影的偏移量 [xoffset,yoffset]
  }
}
区域标签
多边形类型的数据也同样支持添加标签,通过设置polygon中的label,如下所示
const style: IFeatureStyleOptions = {
...
  polygon: {                                   //多边形样式
      label: [                                 //多边形标签样式
        {
          text: {                              //多边形标签文本样式
            data: "$NAME",                     //标签文本内容:取数据源中属性字段:NAME
            avoidCollison: (feature) => {      //是否进行碰撞检测,即是否自动抽稀
              return feature.properties["NAME"] !== "北京"; //北京一直显示
            },
            font: (feature) => {               //标签字体
              return feature.properties["NAME"] === "北京" ? "bold 16px 微软雅黑" : "bold 14px 微软雅黑"
            },
            color: "white",                    //标签字体颜色
            shadowColor: "rgba(14,53,206,1)",  //标签文字阴影的颜色
            shadowBlur: 4,                     //阴影模糊效果
            shadowOffset: [6,6]                //阴影的偏移量 [xoffset,yoffset]

          }
        }
      ]
  }
...
}

无评论